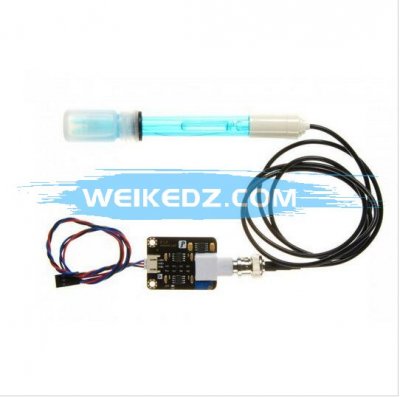


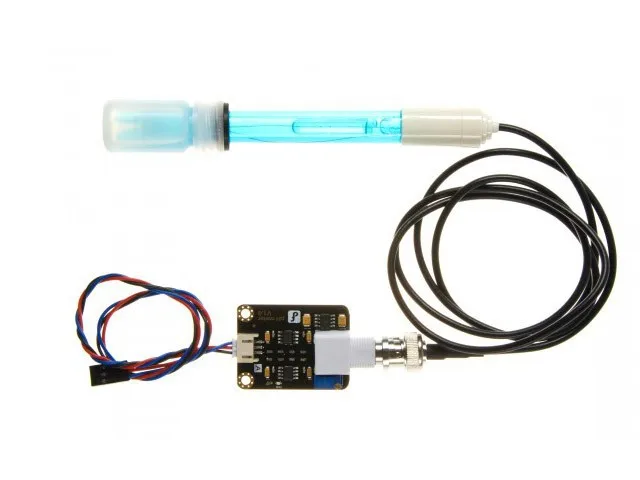
Also in for a low cost, convenient to useopen source pH meter and worry? We launched a specially designed for theArduino1 controller simulation PH meter, has the characteristics of attachmentis simple, convenient and practical. The onboard power light, BNC interface andPH2.0 interface. Use, will received pH sensor onboard BNC interface, theonboard PH2.0 interface connected to the Arduino1 controller simulation, throughthe program control, you can very convenient measuring the pH of the solution.
PH sensor electrode using glass electrode and reference electrode togethermolded case not filling type composite electrode, PH meter measuring elementand is used to measure the hydrogen ion activity in aqueous solution, the PHvalue.
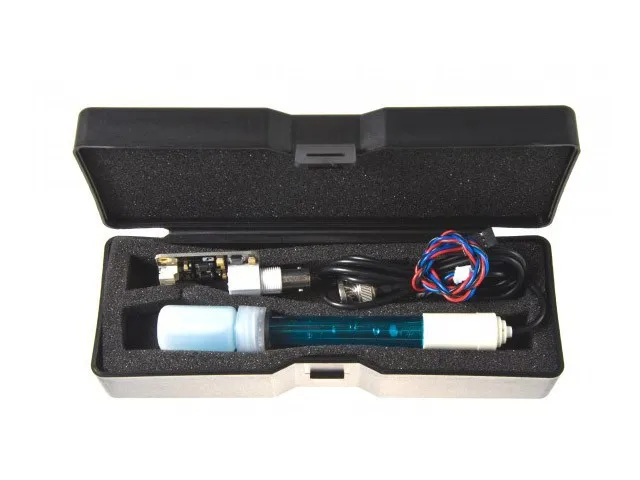
The sensor with thick black boxes, enclosed black high quality rubber cushion,full protection components, not only beautiful and generous. Attached to thecore components - PH electrode manual for proper use convenient user'ssecondary development.
Module Power : 5.00V
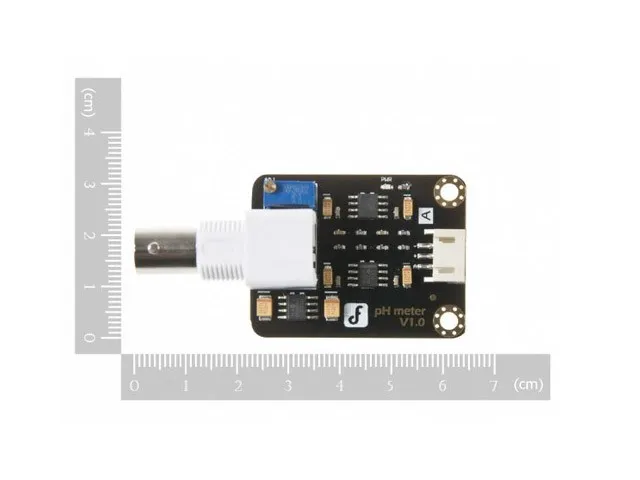
Module Size : 43mmx32mm
Measuring Range :0-14PH
Measuring Temperature :0-60 deg
Accuracy : ± 0.1pH (25 deg)
Response Time : ≤ 1min
pH Sensor with BNC Connector
pH2.0 Interface ( 3 foot patch )
Gain Adjustment Potentiometer
Power Indicator LED
pH sensor (BNC connector ): 1 pcs
pH sensor circuit board: 1 pcs
Analog cable: 1 pcs
Warm Prompt:
Usingthe step
Note:
Please use an external switching power supply, make as far as possible close to+ 5.00 V voltage, voltage more exact, the higher the accuracy.
Electrodes in each successive need to use the standard buffer solution beforeuse for correction, for a more correct result, the environment temperature at25 deg or so, to the best known PH value to be reliable, and its PH value very close tothe measured value of time. If you measure the samples for the acid, please usePH4.00 buffer solution to correction of electrode, if you measure the sample isalkaline, please use the PH9.18 buffer solution on the electrode. Segmentscalibration, just to get a better precision.
PH electrode per a pH measurement of different solution, you need to use cleanwater, it is recommended to use di water to clean.
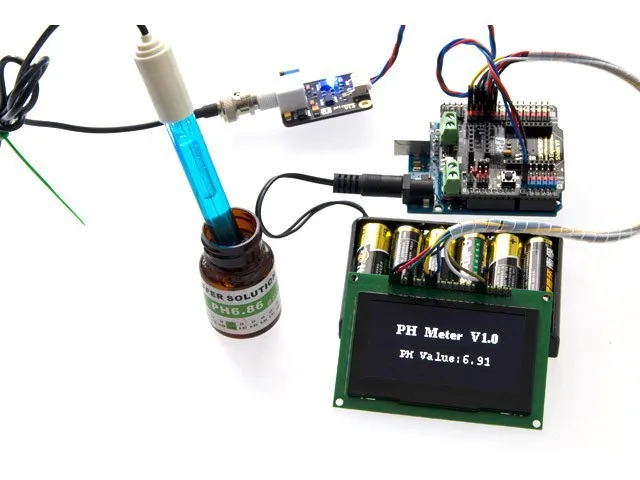
(1) connect the equipment according to the graphic way, namely: the pHelectrode is connected to the pH meter BNC interface circuit board, and thenuse analog cable to connect the pH meter circuit board to the Arduino1 mastercontroller simulation of 0. For Arduino1 master controller power supply, you cansee the pH meter circuit board of the blue light is brighter.
(2) for the Arduino1 master controller burning sample code.
(3) the pH electrode inserted into the pH value of 7.00 of the standardsolution, or directly short BNC interface of two input, open the Arduino1 IDEserial port monitor, you can see the print out of pH value, the error does notexceed 0.3. Record at this point the value of the printed and then comparedwith 7.00, the difference between Offset changes to the program in place. Toprint out the pH value of 6.88, for example, the difference of 0.12, is in thesample program # define Offset to 0.00 # define Offset of 0.12.
(4) insert the pH electrode in the pH value of 4.00 calibration fluid, wait aminute later, gain adjustment potentiometer, make as far as possible to printout the pH of the stable at about 4.00. Meanwhile, acid calibration has beencompleted, you can test the pH of the acidic solution.
Note: other measurement solution, must wash the electrodes.
(5) depend on the linear characteristic of pH electrode itself, through theabove calibration, can directly measure the pH of the alkaline solution, but ifyou want to get a better precision, recommends calibration. Alkaline period ofcalibration using standard solution pH value of 9.18, is also to adjust gainpotentiometer, stable at about 9.18. After calibration, right now you canmeasure the pH of the alkaline solution.
The sample code
Download the sample code, open the Arduino1 IDE serial port monitor, you can seethe result.
/*
# This sample codes is for testing the pH meter V1.0.
# Editor : YouYou
# Date : 2013.10.21
# Ver : 0.1
# Product: pH meter
# SKU : SEN0161
*/
#define SensorPin 0 //pH meter Analog output to Arduino1 Analog Input 0
#define Offset 0.00 //deviation compensate
unsigned long int avgValue; //Store the average value of the sensor feedback
void setup()
{
pinMode(13,OUTPUT);
Serial.begin(9600);
Serial.println("Ready"); //Test the serial monitor
}
void loop()
{
int buf[10]; //buffer for read analog
for(int i=0;i<10;i++) //Get 10 sample value from the sensor for smooth the value
{
buf[i]=analogRead(SensorPin);
delay(10);
}
for(int i=0;i<9;i++) //sort the analog from small to large
{
for(int j=i+1;j<10;j++)
{
if(buf[i]>buf[j])
{
int temp=buf[i];
buf[i]=buf[j];
buf[j]=temp;
}
}
}
avgValue=0;
for(int i=2;i<8;i++) //take the average value of 6 center sample
avgValue+=buf[i];
float phValue=(float)avgValue*5.0/1024/6; //convert the analog into millivolt
phValue=3.5*phValue+Offset; //convert the millivolt into pH value
Serial.print(" pH:");
Serial.print(phValue,2);
Serial.println(" ");
digitalWrite(13, HIGH);
delay(800);
digitalWrite(13, LOW);
}
Electrodesin use or for a long time without having to use for the first time, bubble andsand core, the electrode ball dipped in 3 NKCL solution activation 8 hours.
Remove the electrode to note that after the case in plastic to protectsensitive glass bulb within the grid contact with hard objects, any breakageand brush hair will disable electrode.
Your measurements, need not when electrode should be protecting a condom, casesshould put a small amount of 3.3 mol/L potassium chloride solution, in order tokeep the electrode ball bubble of moist.
Terminal electrode must be kept clean and dry, absolutely prevent short circuiton both ends of the output, otherwise the phrase or measurement results willlead to failure.
Electrode to avoid long-term immersion in distilled water cargo proteins influoride solution and acid solution, and to prevent contact with siliconegrease.
Electrode after long-term use, such as found love mainland gradient veryslightly, can put the bottom electrode were soaked in 4% HF (HF) in 3 to 5seconds, washed with distilled water, then soak in potassium chloride solution,made new.
In the test solution such as sensitive vulnerable ball cargo blocking liquidjunction material, and make the electrode passivation, reduce its phenomenon issensitive gradient, cargo readings are inaccurate. So, should according to thenature of pollutants, with the appropriate solution to clean, to make it new.
Choose cleaner, if can dissolve poly carbonate resin cleaning fluid, such ascarbon tetrachloride, trichloroethylene, tetrahydrofuran, etc., may dissolvethe poly carbonate resin, after besmear is on sensitive glass bulb, and makethe electrode failure, please be careful!


![]()